OK, time to review all my (cough, cough) lofty sewing goals for the year and see what (if anything) I actually accomplished. Here they are:
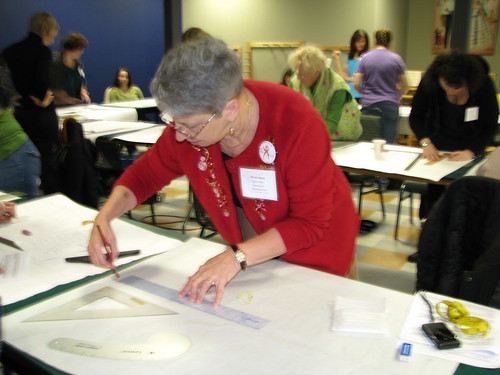
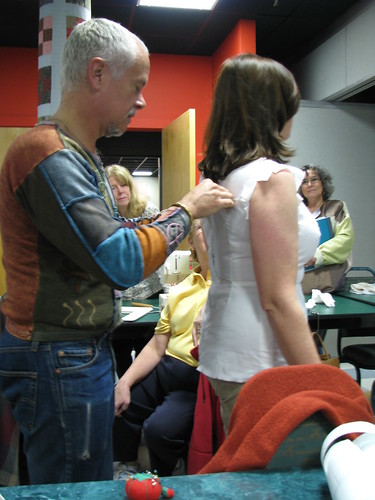
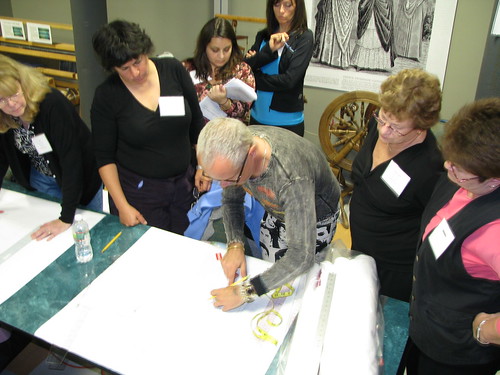
Though it wasn't on my list, my big achievement was taking the moulage workshop with Kenneth King this year. I am really looking forward to working with my slopers to create the best fitting clothes I've ever made. (Stay tuned for my 2011 sewing goals...)
- Organize my sewing space - and keep it that way!
- Sew every day, even if it's only for a few minutes
- Make muslins more often
- Finish at least one garment per month
- Finish my daughter's Halloween costume by mid-October
- Spend less time READING/BLOGGING about sewing/knitting, and more time sewing/knitting
- Figure out some way to make money sewing, or teaching sewing - and DO IT!
- Sew more clothes for my daughter
- Stop buying mass-produced crap clothing (including thrift store stuff that doesn't fit well); buy local/handmade products whenever possible
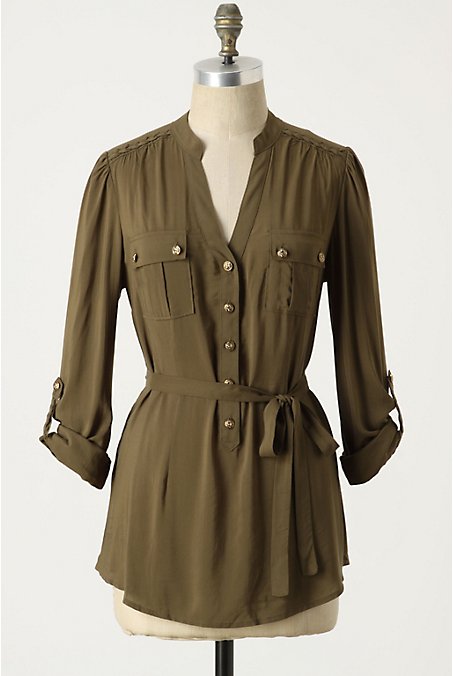
- Make myself a great fitting:
- woven blouse
- winter coat
- pair of jeans
- bra
- Work on improving my skills and learn how to:
- insert an invisible zipper
- sew on Slinky knit so it doesn't look like crap
- use some of the tools/notions I haven't used much (or at all)
- make great buttonholes
Though it wasn't on my list, my big achievement was taking the moulage workshop with Kenneth King this year. I am really looking forward to working with my slopers to create the best fitting clothes I've ever made. (Stay tuned for my 2011 sewing goals...)


